Origami magic ball
I can’t find a good non-video set of instructions for this pattern, so here’s an attempt. It’s also nice to put things I’ve learned into writing, although I think this document is full of unnecessary details that the reader would figure out on their own had they followed the pattern a few times. These details might help make the first attempt less of a disaster, but they could also be intimidating and exhausting. Is the reader playing or are they obeying? I sure hope this isn’t analogous to anything being taught to me...
Info
The pattern is not mine and it doesn’t belong to anyone as far as I can tell.
The process is easy to memorize (probably by being repetitive enough) so you can turn your brain off after the first successful sheet or two. It’s a good activity for online meetings you really don’t need to be in.
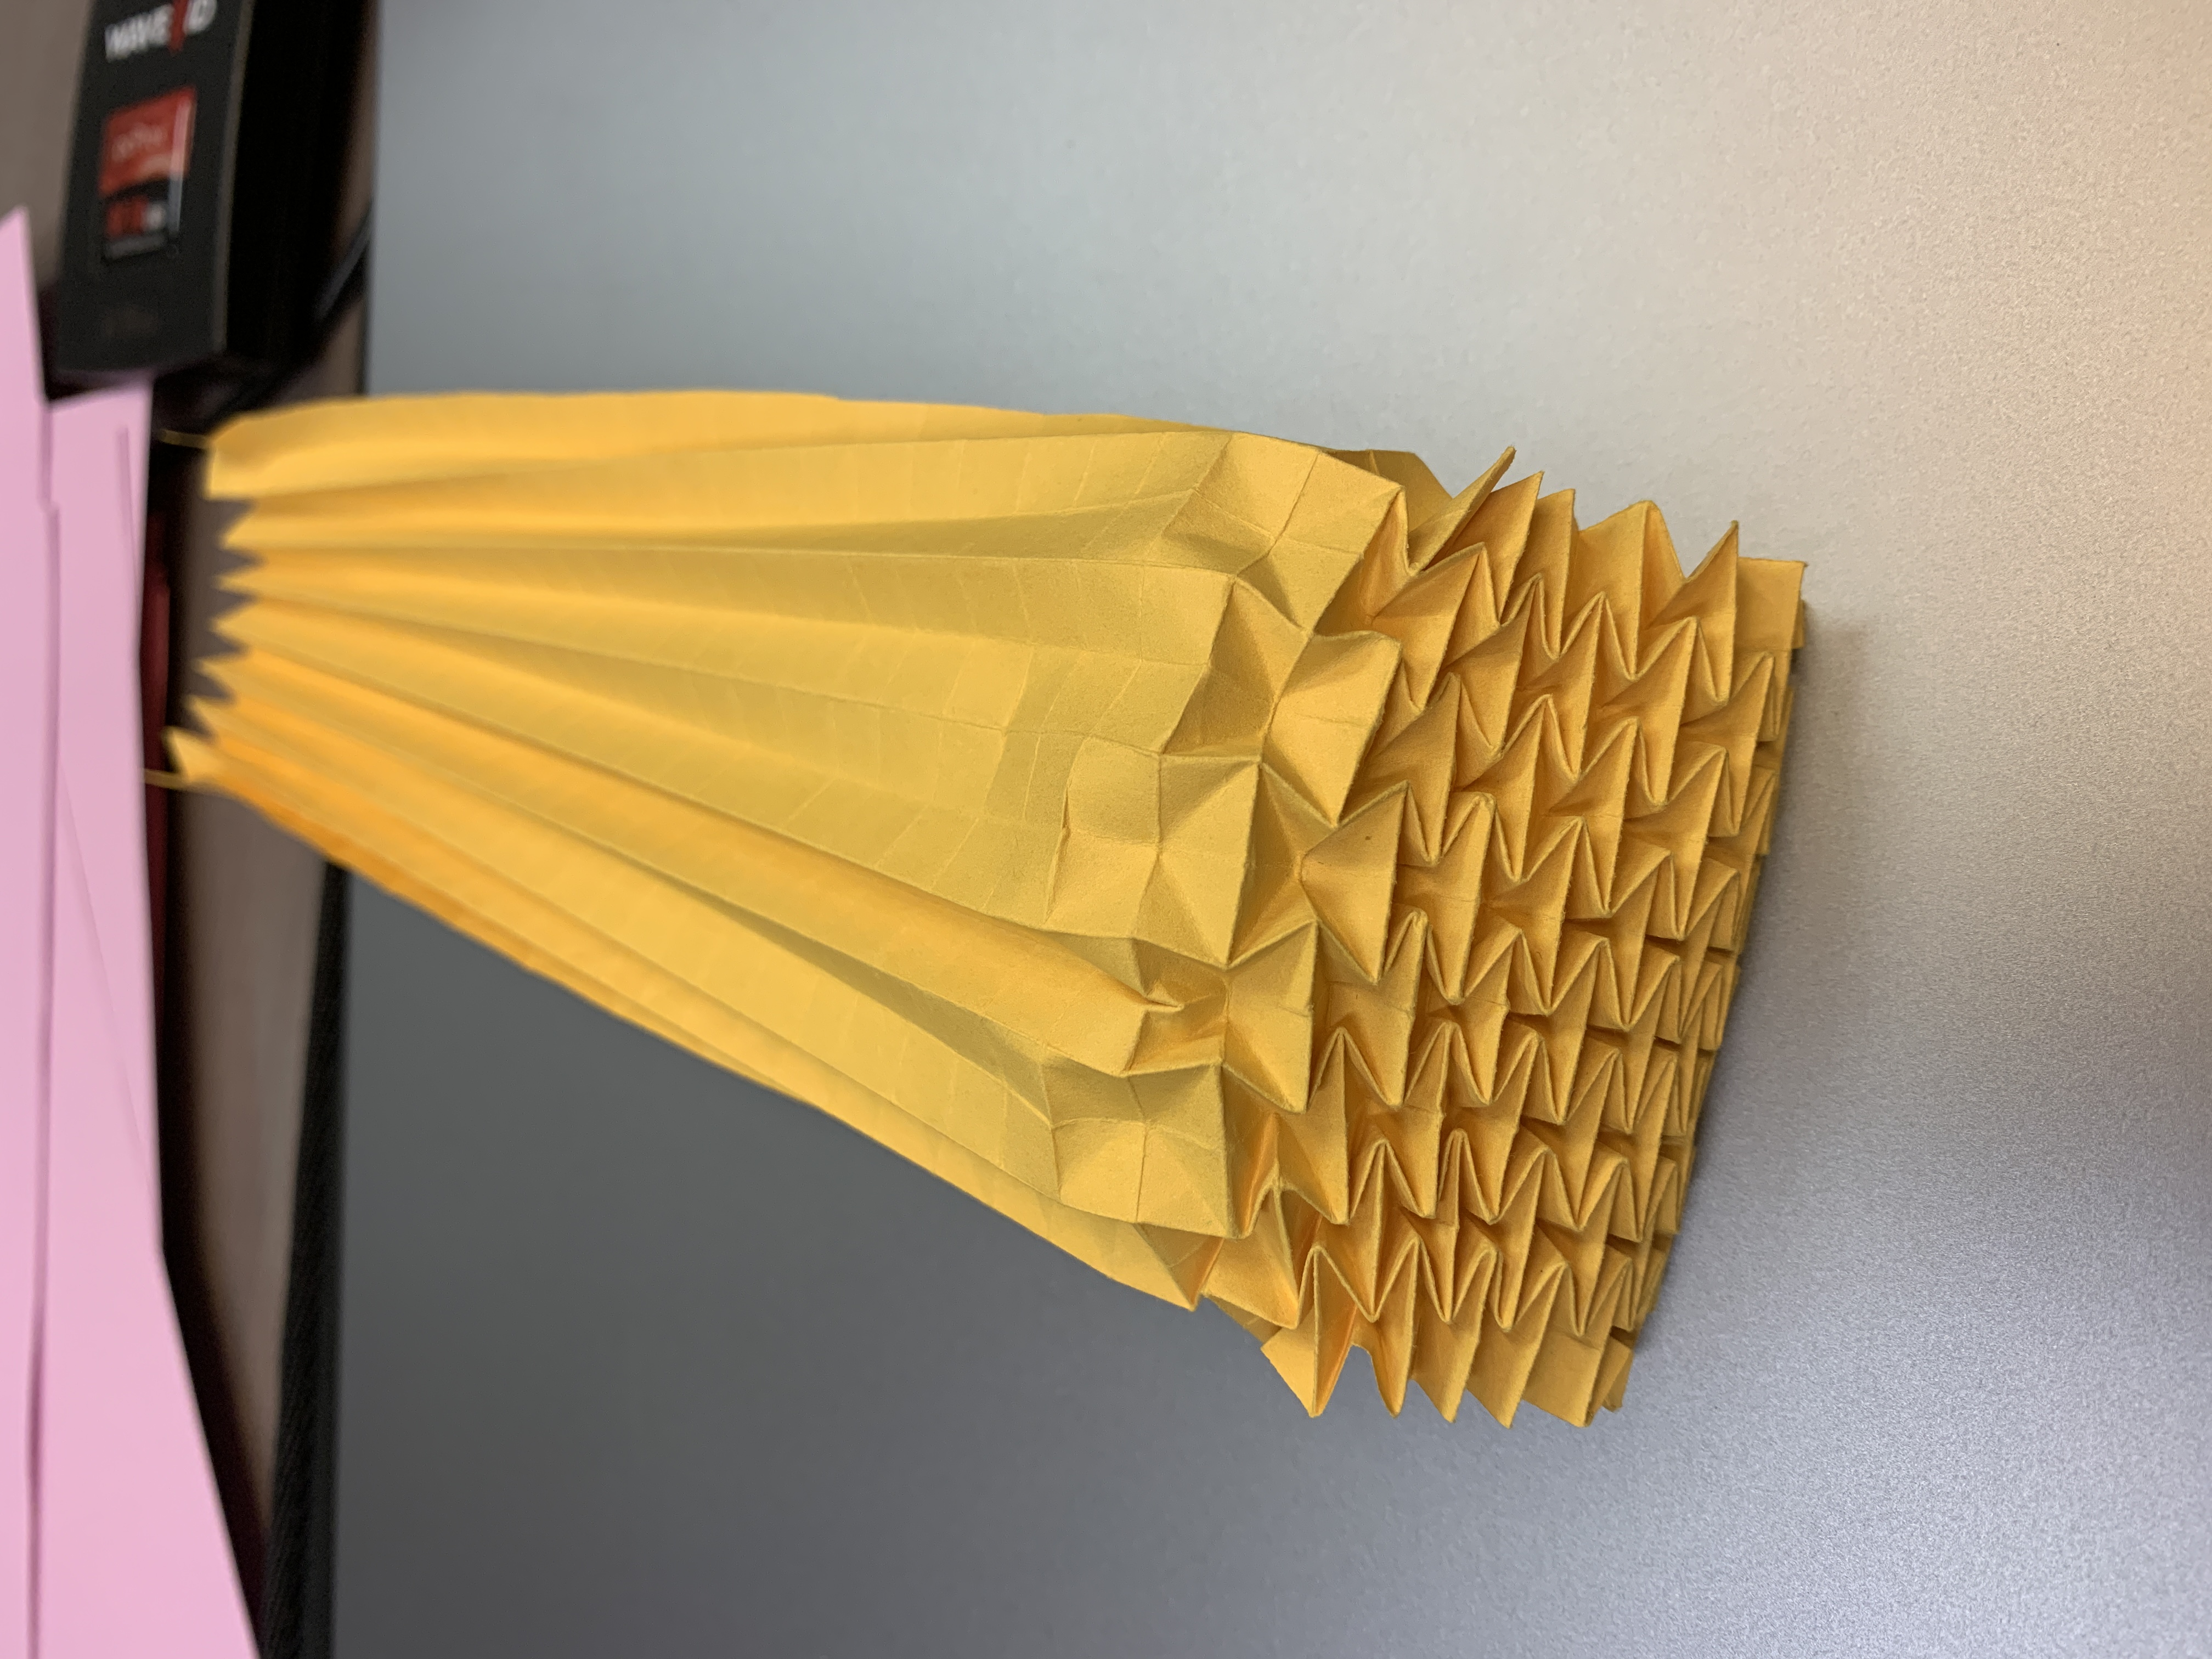
This set of instructions is more about the scrunchy paper tesselation more than it is about the "ball", which is just one bit of tape more complex.
Instructions
Paper
Dimensions: flexible (literally). If you want to make a ball, half of a letter-sized piece of paper lengthwise (hot dog) will do. A 2:1 rectangle is also a good shape.
Size: Difficulty scales with the number of square cells more than the size of the cells (to a point), so using a post-it note won’t make this impossible like other origami projects you might have tried.
Type: best if it can take some abuse, so I don’t recommend thin origami paper. Printer paper is fine.
Methods
There is an easier method and a harder method. The easy way adds some folds unnecessary to the final product, but allows you to complete the "collapse" step column by column, like saving your work as you go along. The hard way means the collapse of each cell depends on the collapse of its neighbours, so the whole sheet has to be massaged for a couple hours before it all collapses at once. Take your pick!
Steps (easy, procedural)
1. Cell pre-folding: horizontal axis (rows)
Make mountain folds across the sheet lengthwise (even thinner hot dog), dividing it into as many equal rows as you have time for. This will define your cell size. 8 rows is a solid number on half-letter-sized paper.
Note that there’s less accumulation of error when you fold a sheet in half, then quarters, then eighths... compared to doing it japanese-fan-as-a-child style.
2. Vertical axis (columns)
Use mountain folds perpendicular to (and with the same spacing as) the folds made in step 1 to fill the sheet with columns of squares. To achieve the same spacing, you can use a 45-degree fold, a ruler, or a second piece of paper.
Then, fold in between each of the new folds, doubling the amount of columns by mountain-folding each column in half. It’s okay if there’s a partial column at the end.
In this sheet full of 2:1 rectangles, the "cells" are any set of squares arranged in a brick-like pattern, so each cell takes up two of these rectangles, and is neighbours with 6 other cells. This becomes important in step 4.

3. Making collapse easier
Fold each of the rows created in step 1 in half. These folds will go through the middle of each row of cells.
Also make sure all of these new folds and the ones in step 1 are creased both ways: mountain and valley.
4. Diagonal pre-folding
Figure out where your square cells will be. For each cell, place an X in it with two valley folds extending to all four corners.
This may take a while. It is also incredibly easy to mess these up.

5. Collapse
It’s probably best to look at the pictures for this one but I’ll do the screenreader challenge.
Collapse happens half a column at a time—

Steps for the incredibly patient
Omit steps 3 and 5 above. Most of the pre-folding is the same.
To replace step 5, you also want to start at one end due to technical limitations of human hands, but you won’t be able to collapse any column without the collapse of adjacent columns. You’ll just have to coax the entire sheet bit by bit. It’s kind of relaxing, although I don’t know how relaxing something really is when an internet person is telling you to be relaxed about it.
Making a ball (optional)
You’ll have to undo both ends temporarily. It just takes a bit of tape and a lot of convincing the tape to behave like paper. Unfortunately, once you tape both ends together, you lose the ability to fold the ball fully (think of an accordion with its ends glued together). Origami paper is especially bad for this since it’s much less opinionated than tape on what shape to hold. Smaller square cells are also more easily overpowered by tape than large ones.
Done!
